You’ve Got the Footage. Now, Where on Earth Do You Start?
The conference was a huge success. The speakers were brilliant, the networking was buzzing, and your team is on a high. A few days later, a hard drive lands on your desk, packed with hours and hours of high-quality footage from the day. Brilliant! But also… a bit daunting, right?
How do you possibly turn that mountain of raw clips into a slick, 2-minute highlights video that will wow your boss and sell out next year’s event? Where do you even begin?
Don’t panic! While the task can seem overwhelming, the professional editing process is a logical, step-by-step journey. Think of it as building a house: you don’t just start chucking bricks around and hope for the best; you follow a blueprint. This guide is that blueprint. It’s your step-by-step plan on exactly how to edit a corporate event video, from organising the chaos to adding that final, professional polish.
Step 1: The ‘Assembly’ – Organising the Chaos Before You Cut
The most tempting thing to do when you get a load of footage is to just dive in and start trying to piece things together. This is a massive mistake! The first, and most important, step in any professional edit is the boring but essential job of getting organised. You can’t build a house on messy foundations.
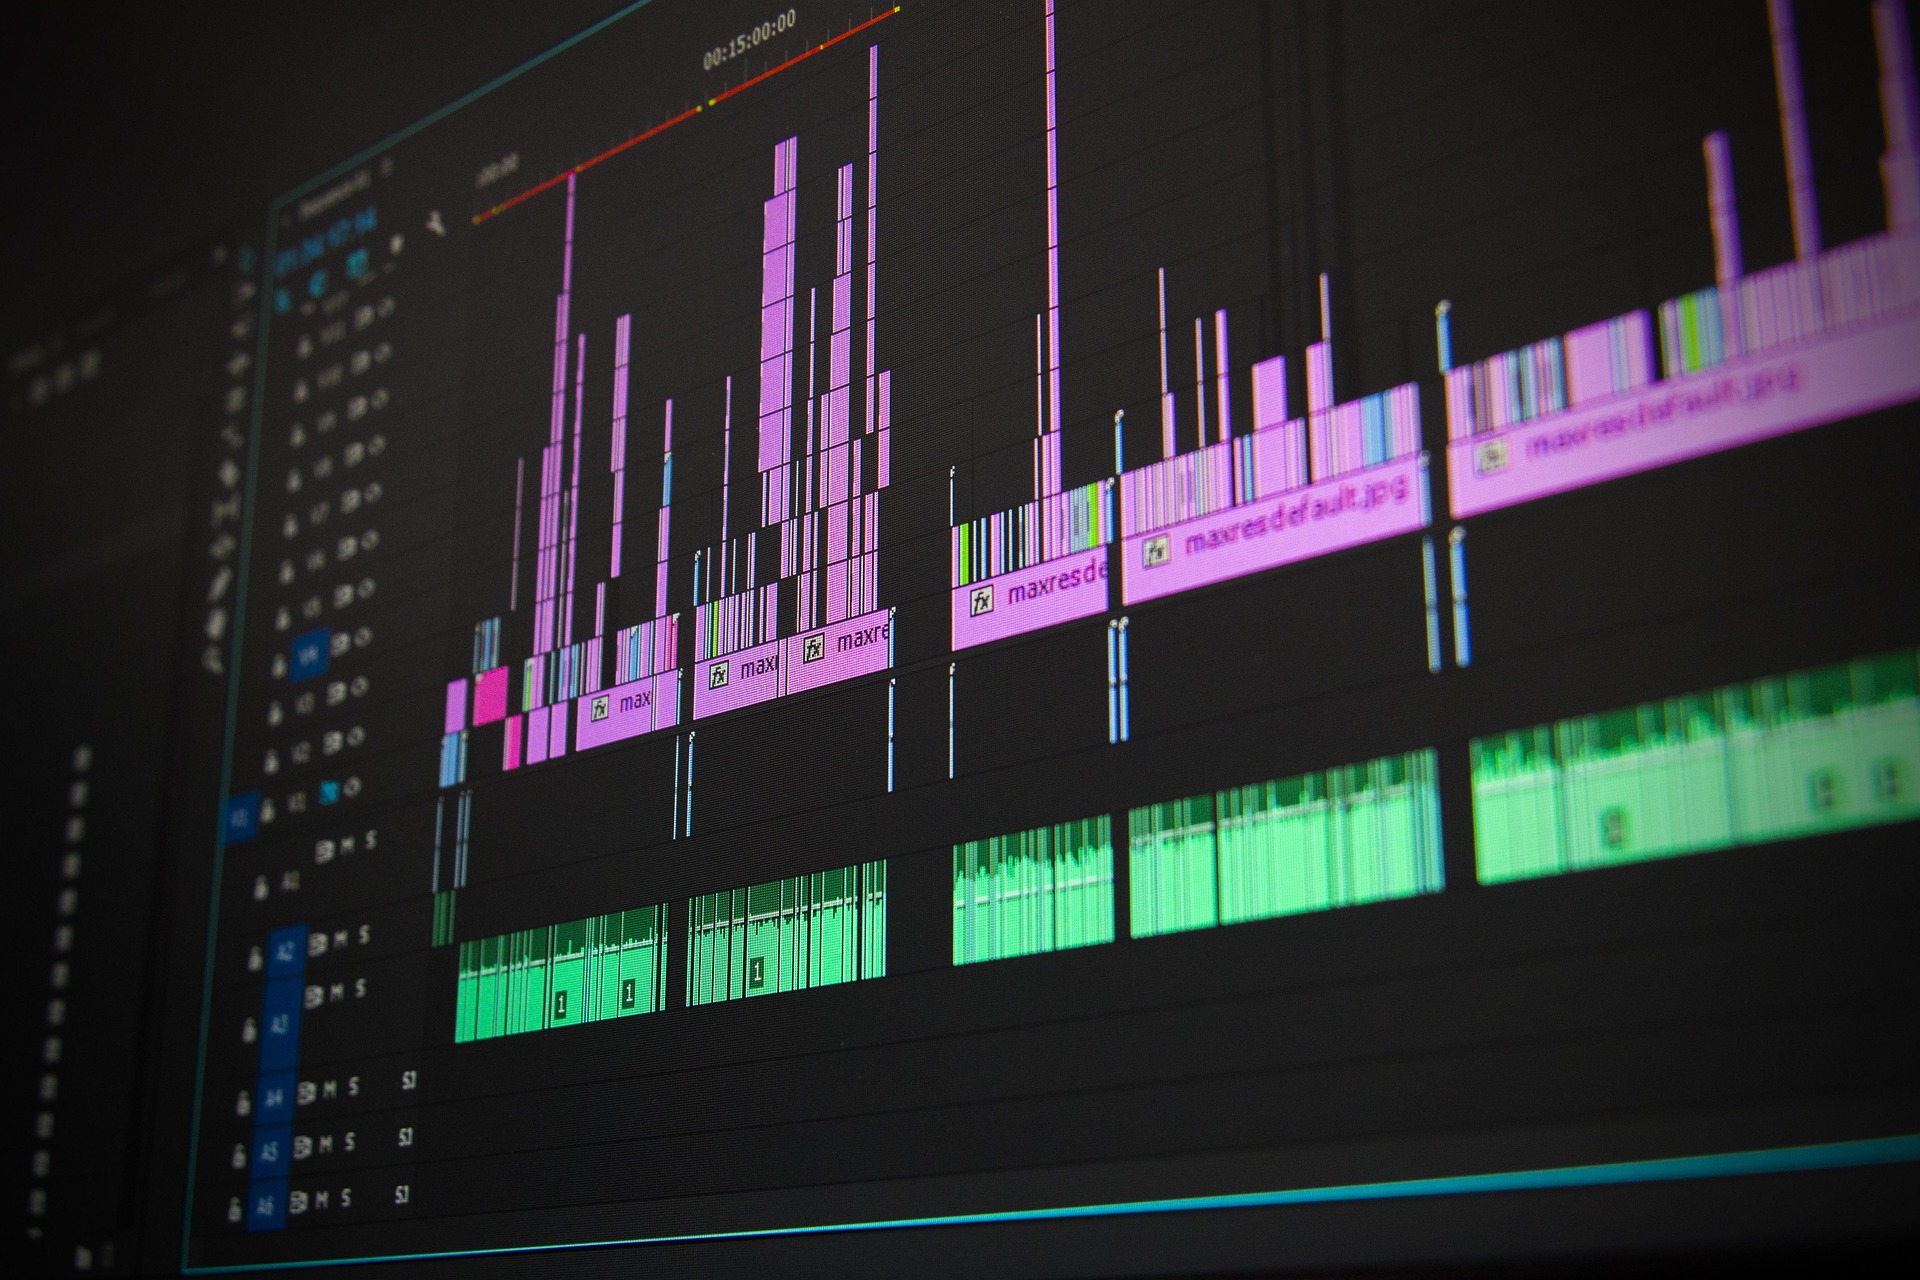
This is called the “assembly” stage. A professional editor will meticulously go through every single file, labelling them and sorting them into logical folders (e.g., ‘Keynote Speeches’, ‘Networking Shots’, ‘Sponsor Banners’). If the audio was recorded separately, they’ll sync it up with the correct video clips.
Then, they’ll watch everything and create a ‘selects’ timeline. This is where they pull out all the golden nuggets—the most powerful soundbites from the speeches, the best shots of the crowd looking engaged, the moments of laughter during the coffee break—and put them all in one place. This organisational stage is a vital first step if you want to know how to edit a corporate event video efficiently; it’s the prep work that makes the creative magic possible.

Step 2: Build the Skeleton – Finding the Narrative Arc
Now that all your best clips are organised, it’s time to start building the story. A great event video is rarely just a straightforward chronological report of the day. It’s a story, crafted to be as engaging and persuasive as possible. The first step is to decide what kind of story you’re telling.
Is this video a fast-paced, 2-minute “highlights reel” designed to sell tickets for next year’s event? Or is it a more detailed 10-minute summary for your internal team? The story you tell will depend entirely on the goal of the video.
Let’s assume you’re creating a highlights reel. You’ll need a simple narrative arc.
The Hook: Start with your most powerful soundbite or a sweeping shot of the packed-out room to grab the viewer’s attention instantly.
The Middle: This is a fast-paced montage of the “best bits”—short, sharp clips from your most engaging speakers, shots of attendees networking and smiling, and the buzz of the event.
The Climax: End with a powerful closing statement and a clear call to action, like a graphic with the dates and ticket link for next year’s conference.
Deciding on your narrative is a crucial part of how to edit a corporate video; it gives your edit purpose and direction.
Step 3: The Fine Cut – A Key Step in How to Edit a Corporate Event Video
You’ve got your story’s skeleton in place on the timeline. Now it’s time to start adding the muscle. The “fine cut” is where you refine the pacing, add visual interest, and really start to bring the video to life.
First, you need to tighten everything up. This means trimming the start and end of every single clip to make the edit feel punchy and professional. There should be no awkward pauses or dead air.
Next, and this is crucial, you must add B-roll. A video of someone just talking for two minutes can be a bit dull. While the speaker is talking (that’s your ‘A-roll’), you should cut away to other footage (‘B-roll’). This could be shots of the audience looking engaged, close-ups of the presentation slides, or footage of people networking. This makes the video far more dynamic and visually interesting.
This is also the stage where you choose the music. The music track is the heartbeat of your video; it sets the entire tone. Once it’s in place, you can start timing your cuts to the beat to give the edit a satisfying, professional rhythm. This is a really creative stage of how to edit a corporate event video, where the final piece really starts to take shape.
Step 4: Adding the Polish with Sound and Colour
Your video now has a great story and a snappy pace. The next step in the blueprint is to give it that professional, high-end sheen that separates it from an amateur effort. This is all about the polish you apply to the sound and the colour.
First, the sound mix. This isn’t just about making sure you can hear everything; it’s about making sure all the audio elements are perfectly balanced. A professional editor will carefully mix the volume of the spoken word, the background music, and any atmospheric sound. The music should be powerful enough to create energy, but it should duck down automatically the moment someone starts speaking, so the dialogue is always crystal clear.
Next, the colour grade. They will go through every clip and adjust the colours to make them consistent, vibrant, and true-to-life. Then, they’ll often apply a specific stylistic ‘grade’ over the whole video to give it a unique, cinematic mood that matches your brand—whether that’s a modern, clean, corporate look or something warmer and more inviting. Learning how to edit a corporate event video like a pro means mastering this final polish.
Step 5: The Final Flourish – Adding Your Graphics and Brand
The video is looking and sounding brilliant. The final step in the blueprint is to add the professional graphics that transform it from a nice film into a hard-working marketing asset for your business.
First, you need a professional opening. This could be a clean, simple title card with the name of the event, or a slickly animated version of your company’s logo. It sets a professional tone from the very first second.
Next, you need “lower thirds”. This is the industry term for the text that appears at the bottom of the screen to introduce your speakers, displaying their name and job title. A professional will create a custom-designed graphic for this that perfectly matches your brand’s fonts and colours.
Finally, and most importantly, you need a call to action. Never let your video just fizzle out! It should end with a clean, clear “end card” that displays your website address, your social media handles, and a direct instruction for the viewer, like “Register for our next event!” or “Visit our website to learn more!”. Adding a strong call to action is the final, crucial step in how to edit a corporate event video that actually gets results.
Your Final Blueprint Questions: An Editing FAQ
Q: How long should a highlights video for a corporate event actually be?
A: It’s almost always shorter than you think! For a main highlights video to put on your website or use to open next year’s conference, the sweet spot is around 2 to 3 minutes. For sharing on social media, you need to be even punchier—aim for 60 to 90 seconds max. The goal is to create a fast-paced, exciting summary that leaves people wanting more, not a long film they’ll click away from.
Q: What’s the biggest mistake people make when trying to edit their own event footage?
A: They aren’t ruthless enough. Because you were there and have an emotional connection to the event, you’ll struggle to cut out that bit of a speech that dragged on, or that networking shot where you were chatting to a mate. A professional editor brings a vital, objective eye. They are ruthless in cutting out anything that isn’t absolutely essential to telling a tight, engaging story.
Q: To do a proper multi-camera edit, does the editor need the files from all the cameras?
A: Yes, one hundred percent. This is absolutely crucial. To create that professional, broadcast-style edit where you can cut between the main wide shot and the close-ups of the speaker, the editor needs the separate, raw footage from every single camera that was used on the day. It’s the fundamental ingredient in how to edit a corporate event video to a high standard.


