The Best Kind of Puzzle
So, you’ve had your big event filmed with multiple cameras. Fantastic choice! It’s the gold standard for a reason. It means you’ve captured every angle: the main wide shot, the close-ups of the speaker, the reactions from the crowd. You have all the ingredients for a dynamic, professional, broadcast-quality video.
But it also means you’ve been handed a puzzle. You have two, three, maybe even four different video files all showing the same event from a different perspective, plus a separate, high-quality audio recording. How on earth do you piece all of that together into one seamless film?
It can seem like a daunting, mind-bogglingly complex task. But don’t you worry! With the right professional workflow, it’s a very logical process. This guide is your blueprint. We’re going to break it down, step by step, and show you exactly how an editor tames the chaos. This is the professional workflow for editing multi-camera event footage.
Step 1: The Sync Point – Where It All Lines Up
Before a single creative decision can be made, the editor has to complete the most important technical task of the entire process: synchronisation. This means getting every single video clip and every separate audio file lined up with perfect, to-the-millisecond accuracy.
How is this done? You’ve probably seen it in films: the classic clapperboard. A professional camera crew will do something similar, often a simple, loud hand clap on camera at the start of every long take. This creates a sharp spike in the audio waveform and a clear visual reference point.
The editor’s first job is to bring all the different camera angles into their software and meticulously line up that “clap” on every single clip. Once the clips are perfectly in sync at that one point, they will remain perfectly in sync for the entire duration of the recording. Everything is now perfectly in time. Getting a perfect sync is the first and most important technical challenge of editing multi-camera event footage.
Step 2: Grouping the Clips into a ‘Multi-Cam’ Sequence
With all the different camera angles and audio files perfectly synchronised, the editor can now perform the next technical step. They will group all of those separate clips together into a special kind of master clip called a “multi-camera sequence.”
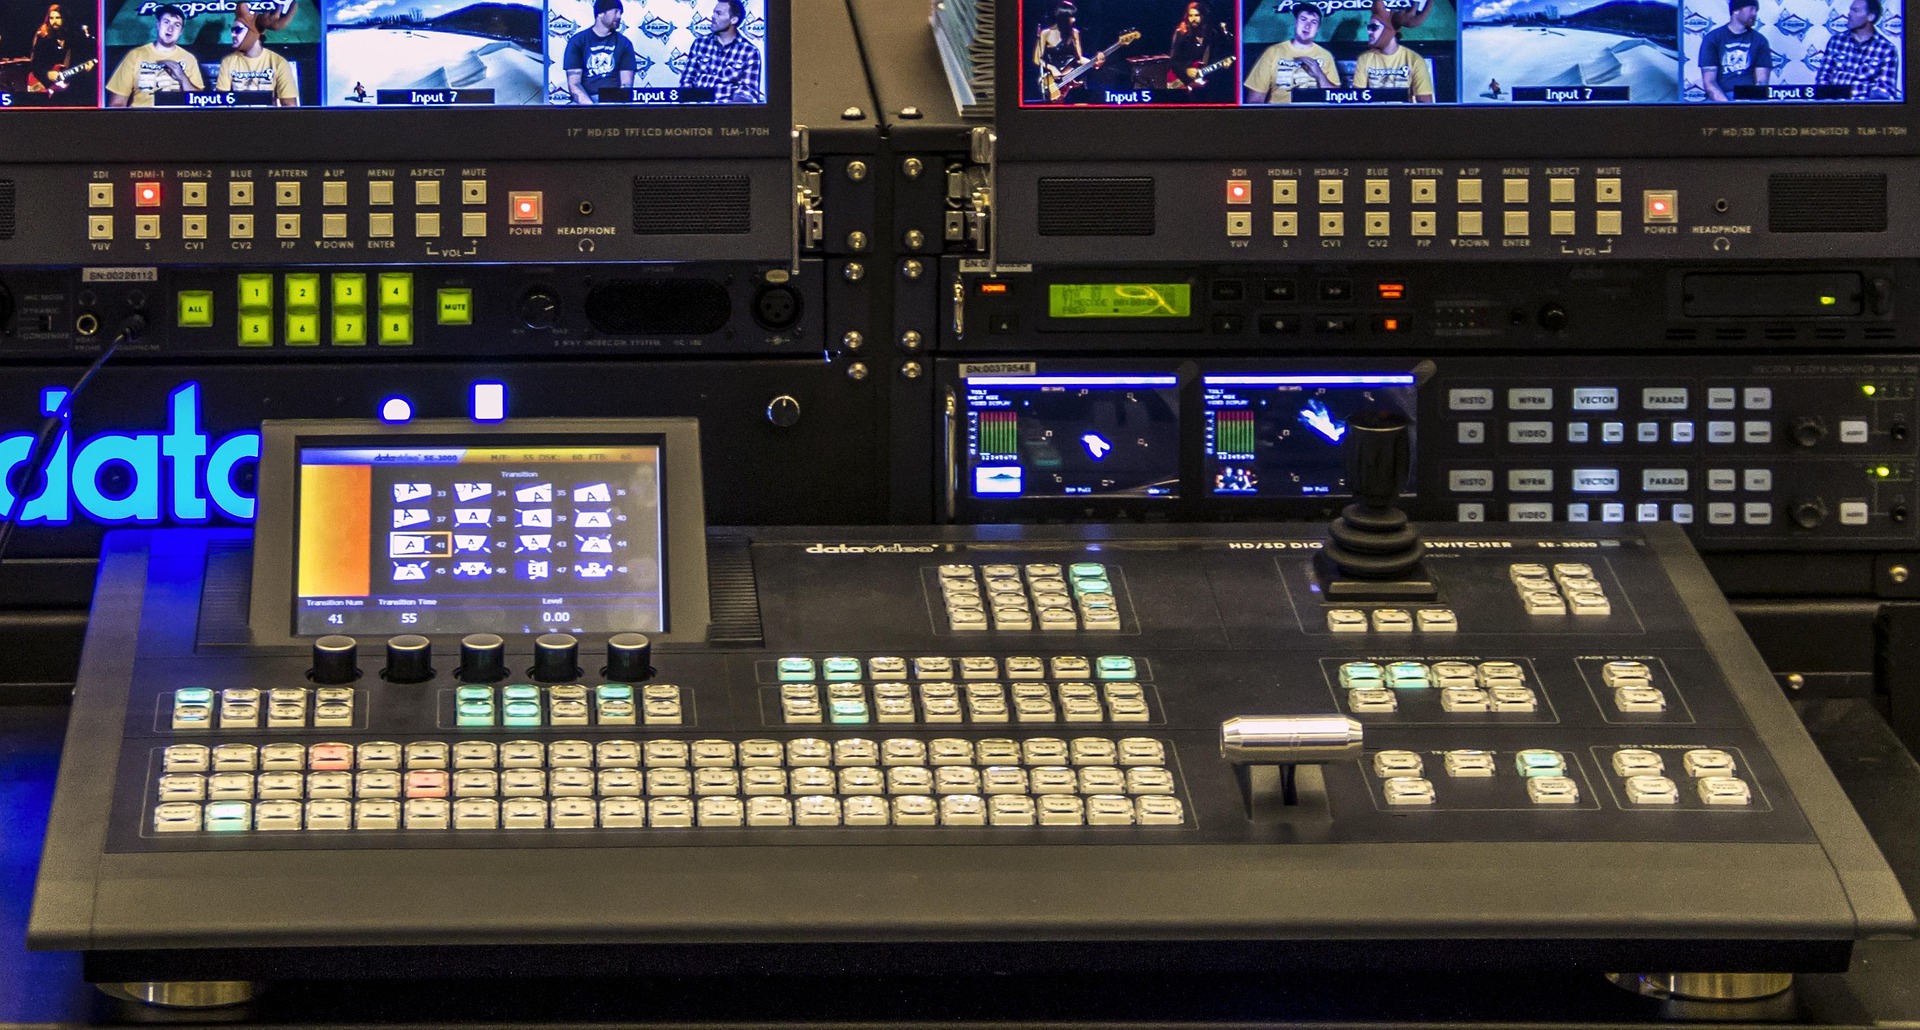
This is where the magic really starts to feel possible. When the editor works with this special sequence, their screen transforms. It looks just like the director’s cockpit in a live TV studio. They will have a small preview window for every single camera angle, all playing back at the same time, perfectly in sync.
So, they can see the main wide shot in one window, the close-up of the speaker in another, and a shot of the audience in a third. This turns a clunky, complicated mess of different files into a streamlined and powerful tool. This setup is the secret to efficiently editing multi-camera event footage, as it allows the editor to see all their options at once and prepare for the creative part of the job.
Step 3: The ‘Live’ Edit – The Fun Bit!
With the multi-camera sequence all set up and looking like a director’s cockpit, the editor can now do the really fun part. They effectively get to become a live TV director, with the massive advantage of being able to pause and rewind!
The editor will play the entire event through in real-time. As they watch all the synced camera angles playing at once, they simply switch between them to choose the best shot for each moment. They’ll start on the main wide shot to establish the scene, cut to a close-up when the speaker makes an important point, and then switch to the audience angle to capture a reaction, all with the click of a button.
This creates a “live cut” of the entire event. It’s the first rough draft of the video, but it’s a brilliant one because it captures the natural rhythm and flow of the event as if it were being broadcast on television. This is the most dynamic and fun part of editing multi-camera event footage, as the editor gets to put on their director’s hat and build the show.
Step 4: The Refinement – Tightening, Tweaking, and Layering
The “live edit” is a fantastic, energetic first draft. But the next step in the blueprint is for the editor to go back through the entire timeline with a fine-tooth comb and polish every single cut.
This is the refinement stage. The editor will meticulously adjust the timing of each cut, maybe shortening a shot by half a second here or holding on an emotional reaction for a second longer there, to make the rhythm absolutely perfect. If they notice a moment where a different camera angle would have been more powerful, they can easily swap it out.
This is also where they will layer in any extra footage, or B-roll. While your keynote speaker is talking about the company’s success, the editor will now cut in those beautiful, cinematic shots of your team hard at work or your happy customers using your product. This is a key part of the blueprint for editing multi-camera event footage; the first pass is for capturing the live energy, but the second pass is where the storytelling is perfected.
Step 5: The Final Polish – Unifying the Look and Sound
The edit is now looking sharp and telling a great story. The final step in the blueprint is to apply the professional polish that makes everything look and sound like it came from a single, high-end production.
One of the biggest challenges with a multi-camera shoot is that each camera can have a slightly different look. The colours from the camera on the left of the stage might look a bit warmer than the one on the right. A professional editor’s first job in this final stage is colour matching. They will meticulously adjust the colours of each camera angle so that when you cut between them, the transition is completely seamless.
Once everything is matched, they’ll apply a final, stylistic colour grade over the whole project to give it that cinematic feel. They’ll also perform a final sound mix, balancing the music, the speeches, and the audience’s applause to make it sound rich and clear. This final polish is what separates a good edit from a truly professional job of editing event footage.
Your Editing Multi-Camera Event Footage Questions: A Multi-Cam FAQ
Q: Does a multi-camera edit take a lot longer than a single-camera edit?
A: It’s a different kind of process. There is more technical setup time at the beginning with syncing and organising all the angles. However, the creative “live cut” can sometimes be quicker than trying to make a single, static camera angle look interesting! Overall, because of the extra refinement and colour matching needed, it’s a more intensive process, but the vastly superior, broadcast-quality result is more than worth it.
Q: What happens if one of the cameras missed a really important moment?
A: This is the beautiful safety net of a multi-camera shoot! If a fan suddenly stands in front of one camera, or an operator is momentarily in the wrong position, it’s very likely that one of the other cameras has the moment captured perfectly. An editor can just seamlessly cut to the other angle, and the viewer at home would never even know there was an issue.
Q: Can you edit footage that was filmed on different types of cameras?
A: A professional editor certainly can, but it requires more skill in the ‘colour matching’ stage. Different brands of camera (like a Sony and a Canon) produce slightly different colours, and a key part of the editor’s job is to make them look identical so that the cuts between them are invisible. While it’s always ideal if matching cameras are used for the shoot, blending footage from different sources is a core technical skill of editing multi-camera event footage.


